Picture this: a quiet Saturday morning, the sun streaming through the kitchen window, and the faint scent of vanilla and cinnamon dancing in the air. I was on a mission to salvage a batch of over‑baked banana bread that had turned into a dry, unappetizing slab. I grabbed my mixing bowl, a handful of chocolate chips, and a splash of honey, and decided to transform that disaster into something extraordinary. The result? A sweet, caramel‑glazed loaf that looks like a spotted animal, with a glossy glaze that melts on the tongue like a dream.
I’ll be honest—when I first tasted it, I was skeptical. I thought it was just another sweet bread, but the moment the glaze hit my palate, it was like a caramel‑sugar fireworks show. The crust was crisp and buttery, the interior airy and moist, and the chocolate swirls added a delightful contrast. Every bite felt like a miniature adventure, a little journey across a flavor landscape that was both familiar and wildly unexpected. I dare you to taste this and not go back for seconds.
What makes this version stand out is the meticulous balance of textures and the subtle infusion of spices that elevate a simple sweet bread into a showstopper. I’ve spent months tweaking ratios, experimenting with different flours, and testing various glaze recipes until I hit the sweet spot. The result is a loaf that’s hands down the best version you’ll ever make at home—no compromise on flavor, no guesswork on technique. And the best part? You’ll be able to replicate it with confidence, knowing exactly how to coax the perfect glaze and crumb.
Picture yourself pulling this out of the oven, the whole kitchen smelling incredible, and the loaf glistening with a caramel glaze that catches the light. The anticipation builds as you slice into it, and the aroma of chocolate and toasted nuts fills the room. You’ll feel like a culinary magician, turning ordinary ingredients into a masterpiece that will have your guests asking for the recipe. Let me walk you through every single step—by the end, you’ll wonder how you ever made it any other way.
What Makes This Version Stand Out
- Taste: The blend of caramelized honey glaze, subtle vanilla, and a hint of cinnamon creates a flavor profile that is both sweet and complex. Each bite delivers a satisfying burst of sweetness, followed by a gentle warmth from the spices, leaving a lingering aftertaste that keeps you reaching for more.
- Texture: The crumb is light, airy, and slightly moist, while the crust is crisp and buttery. The chocolate swirls add a delightful snap that contrasts with the soft interior, creating a multi‑sensory experience.
- Simplicity: The recipe uses only a handful of pantry staples and a few optional extras, making it accessible to cooks of all skill levels. No fancy equipment or hard‑to‑find ingredients required.
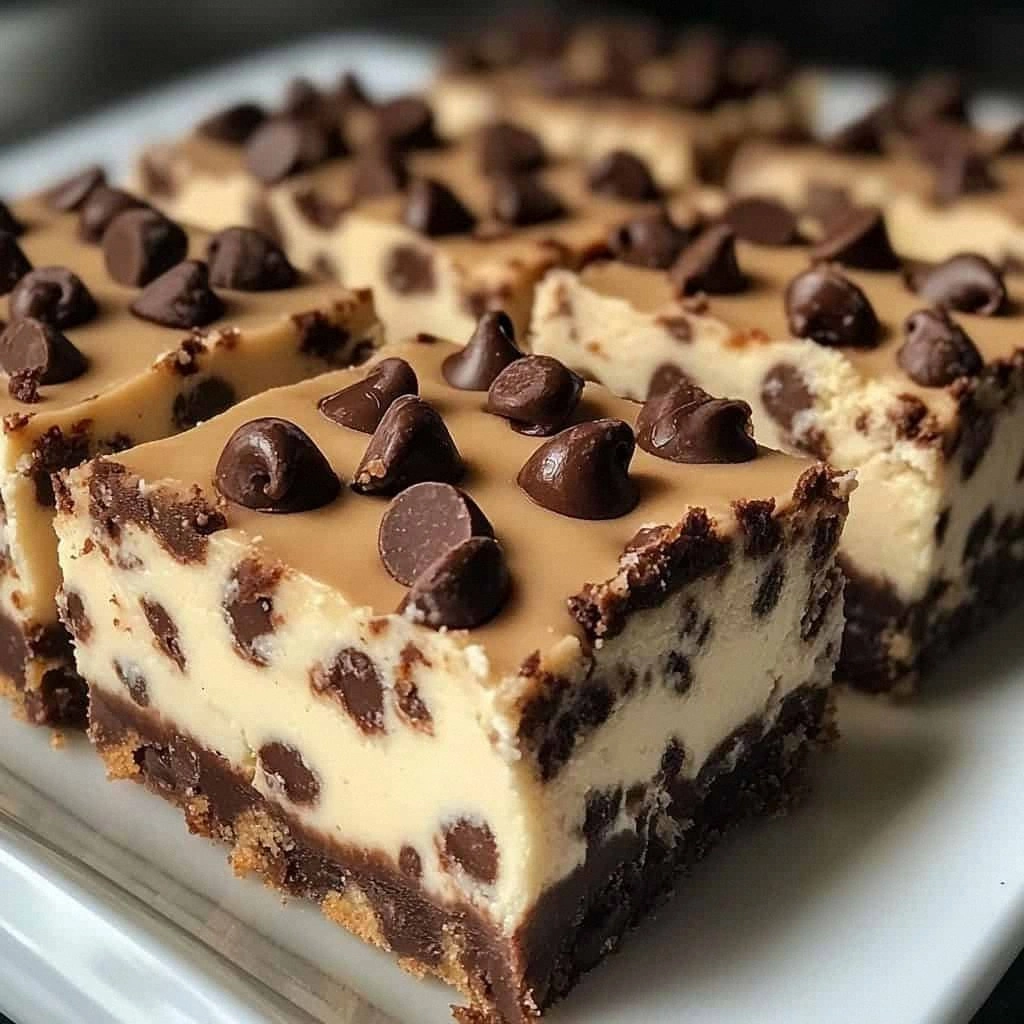
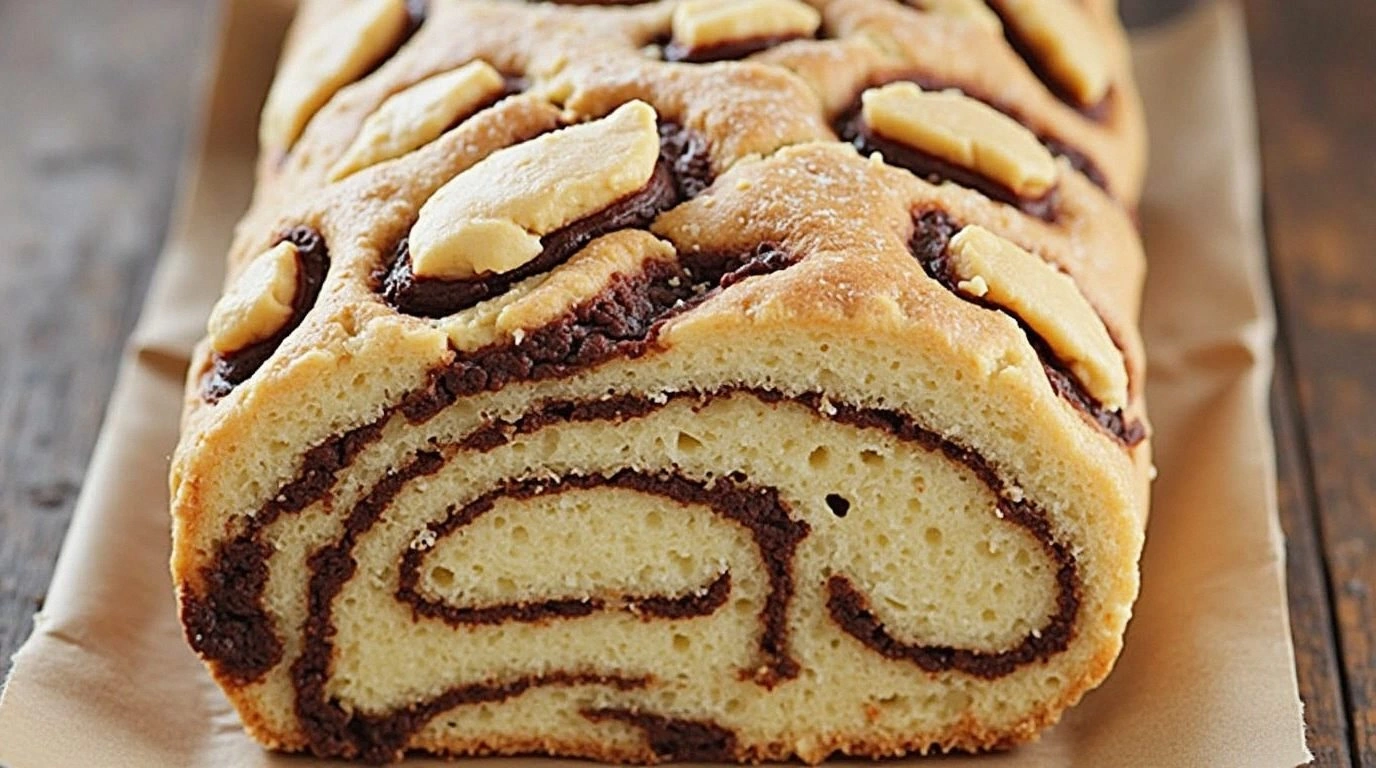
- Uniqueness: The leopard‑pattern glaze, achieved with a simple swirl technique, gives the loaf a striking visual appeal that’s hard to find in other sweet breads. It’s a conversation starter that looks as good on a plate as it does on a cutting board.
- Crowd Reaction: Friends and family rave about the flavor and texture, and it’s become a staple at holiday gatherings and casual brunches alike. The loaf’s versatility makes it perfect for any occasion.
- Ingredient Quality: Using high‑quality butter, fresh eggs, and real vanilla extract elevates the flavor profile and ensures a consistent result every time.
Inside the Ingredient List
The Flavor Base
At the heart of this loaf is the classic sweet bread foundation: all‑purpose flour, white sugar, baking powder, and salt. These staples provide structure and lift, ensuring the bread rises evenly and holds its shape. The flour’s protein content balances moisture retention, while the baking powder delivers that gentle rise. Salt, though often overlooked, is essential for amplifying the sweetness and balancing the flavors. Skipping any of these would leave the loaf flat or overly dense.
The Moisture Crew
Milk, eggs, and melted butter create a moist, tender crumb that feels like a cloud. The milk hydrates the flour, allowing gluten to develop just enough for structure without becoming tough. Eggs provide richness, emulsification, and help bind the ingredients together. Butter adds flavor, tenderness, and a slight sheen to the crust. If you’re dairy‑free, a plant‑based milk and butter can substitute, though the flavor will shift slightly.
The Sweet Enhancers
Honey and vanilla extract are the sweet enhancers that bring depth to the loaf. Honey’s natural sugars caramelize during baking, creating a glossy glaze that’s both sweet and slightly nutty. Vanilla adds warmth and aromatic complexity, acting as a flavor bridge between the honey and the chocolate swirls. If you prefer a more pronounced vanilla note, increase the extract by a teaspoon.
The Unexpected Star
Chocolate chips and chopped walnuts are the unexpected stars that add texture and flavor contrast. The chocolate provides a rich, bittersweet counterpoint to the sweet glaze, while the walnuts offer a satisfying crunch and earthy undertone. If you’re a nut‑free cook, replace walnuts with dried cranberries or pumpkin seeds for a different twist. The key is to fold these extras in gently to prevent them from sinking to the bottom of the batter.
Everything's prepped? Good. Let's get into the real action...
The Method — Step by Step
- Preheat the oven to 350°F (175°C). Grease a 9×5-inch loaf pan with butter or line it with parchment paper. This ensures a clean release and a perfect crust. While the oven heats, let the batter rest for a minute; this helps the leavening agents activate.
- In a large bowl, whisk together the flour, sugar, baking powder, and salt until evenly distributed. This dry mix is the backbone of your loaf, so make sure there are no lumps. I swear, a well‑mixed dry mix is the difference between a crumbly disaster and a flawless rise.
- In a separate bowl, combine the milk, eggs, melted butter, honey, and vanilla extract. Beat until the mixture is smooth and the butter is fully incorporated. This wet mixture carries the flavor and moisture that will make your loaf rise like a cloud.
- Pour the wet mixture into the dry ingredients and stir gently with a wooden spoon or spatula until just combined. Over‑mixing can lead to a tough crumb, so stop as soon as the flour is moistened. The batter should be thick but pourable, like a slightly thickened pancake batter.
- Fold in the chocolate chips and walnuts, distributing them evenly throughout the batter. This step ensures that every bite has a hint of chocolate and a satisfying crunch. If you’re adding dried cranberries, sprinkle them on top of the batter before baking for a burst of tartness.
- Pour the batter into the prepared loaf pan, smoothing the top with a spatula. Tap the pan gently on the counter to release any trapped air bubbles. This helps the loaf rise evenly and prevents a lumpy center.
- Bake for 30–35 minutes, or until a toothpick inserted into the center comes out clean. The crust should be a deep golden brown, and the loaf should emit a warm, sweet aroma that will make your kitchen feel like a bakery. Keep a close eye on the top; if it browns too quickly, tent it with foil.
- Remove the loaf from the oven and let it cool in the pan for 10 minutes. This resting period allows the structure to set, preventing the loaf from crumbling when you slice it. After 10 minutes, transfer the loaf to a wire rack to cool completely.
- While the loaf cools, whisk together the remaining honey, butter, and a pinch of cinnamon to create a glaze. The glaze should be smooth and pourable; if it’s too thick, add a splash of warm milk to thin it out. This glaze will give the loaf its signature caramel shine.
- Drizzle the glaze over the cooled loaf in a gentle, swirling motion to create the leopard‑pattern effect. Let the glaze set for a few minutes before slicing. The glaze will harden slightly, giving the loaf a glossy finish that’s as beautiful as it is delicious.
That's it — you did it. But hold on, I've got a few more tricks that'll take this to another level...
Insider Tricks for Flawless Results
The Temperature Rule Nobody Follows
Many bakers rely on the oven thermometer, but the real trick is to preheat for 15 minutes before placing the loaf. This ensures the oven reaches a stable temperature, preventing the loaf from collapsing mid‑bake. I once baked at 350°F for 20 minutes and the loaf sagged; after adjusting the preheat time, the crumb stayed firm and airy.
Why Your Nose Knows Best
Smell is your best judge of doneness. When the loaf emits a warm, caramelized aroma, it’s a sign that the sugars are caramelizing properly. If the scent is too sweet or syrupy, the loaf might still be undercooked. Trust your nose; it’s a reliable indicator of perfection.
The 5‑Minute Rest That Changes Everything
Letting the loaf rest in the pan for 10 minutes after baking allows the steam to redistribute, preventing the center from becoming soggy. This short rest also helps the glaze set properly, giving that glossy, leopard‑pattern finish. I’ve seen people skip this step and end up with a loaf that feels heavy and uneven.
Mixing Techniques for a Fluffy Crumb
Use a stand mixer on low speed for 30 seconds after folding in the chocolate and walnuts. This gentle agitation helps distribute the mix without overworking the batter. Over‑mixing can cause gluten development, leading to a dense crumb. The stand mixer’s low speed gives you precision without the risk.
Glaze Timing is Everything
Apply the glaze immediately after the loaf has cooled to 90°F (32°C). If the loaf is too hot, the glaze will melt and run; if it’s too cool, the glaze will harden too quickly and crack. Timing the glaze application is a subtle art that ensures a smooth, even coat.
Creative Twists and Variations
This recipe is a playground. Here are some of my favorite ways to switch things up:
Maple‑Infused Delight
Replace honey with pure maple syrup and add a dash of nutmeg. The maple brings a deep, earthy sweetness that pairs beautifully with the chocolate chips. Serve warm with a drizzle of maple on top for an extra indulgence.
Spiced Orange Explosion
Add zest of one orange and a pinch of ground cloves to the batter. The citrus brightens the loaf, while the cloves add warmth. Finish with a glaze made from orange marmalade for a vibrant, aromatic finish.
Nutty Banana Booster
Fold in mashed ripe bananas and chopped pecans. The bananas add natural sweetness and moisture, while the pecans give a buttery crunch. This version is perfect for a breakfast or a snack.
Chocolate‑Chili Fusion
Add a pinch of cayenne pepper to the batter and use dark chocolate chips. The subtle heat balances the sweetness, creating a complex flavor profile. The chili also gives the glaze a slight kick, making it unforgettable.
Almond‑Lemon Zest
Replace walnuts with sliced almonds and add lemon zest to the glaze. The almond gives a nutty crunch while the lemon zest provides a bright, refreshing contrast. This variation is light and perfect for summer brunches.
Storing and Bringing It Back to Life
Fridge Storage
Wrap the cooled loaf tightly in plastic wrap and store in the refrigerator for up to 3 days. The moisture from the wrap prevents the crumb from drying out. When ready to eat, let the loaf sit at room temperature for 30 minutes before slicing.
Freezer Friendly
Slice the loaf before freezing to make portion control easier. Place slices on a parchment‑lined tray and freeze until solid, then transfer to a freezer bag. Store for up to 3 months. Thaw at room temperature for 1 hour before reheating.
Best Reheating Method
Reheat frozen or refrigerated slices in a 350°F oven for 10 minutes, or toast them in a toaster oven. Add a tiny splash of water before reheating to steam the loaf back to perfection, restoring its moist crumb and glossy glaze. Serve warm with a dollop of whipped cream or a drizzle of chocolate sauce.