I still remember the disaster that started my keto cake obsession. It was my sister's birthday, and I'd promised to make her favorite chocolate cake — except I'd just started keto three weeks earlier and refused to cave. The first attempt? Let's just say it resembled a chocolate-flavored rubber frisbee more than anything edible. The second attempt was slightly better, but still dense enough to anchor a small boat. By the third try, my kitchen looked like a cocoa powder crime scene, and I was ready to admit defeat.
But here's where the story gets interesting. Instead of giving up, I became obsessed. I spent the next month testing every keto cake recipe on the internet, buying specialty ingredients that cost more than my first car, and turning my kitchen into a science lab. Most were disappointing — either they tasted like artificial sweetener with a side of sadness, or they had the texture of cardboard soaked in coconut oil. But then, on attempt number 47 (yes, I kept count), something magical happened. The cake that emerged from my oven was so impossibly moist, so deeply chocolatey, so perfectly tender that my non-keto husband ate three slices and asked if I'd made it "the normal way."
That moment changed everything. This isn't just another dry, crumbly keto cake that you choke down while pretending it's "just as good as the real thing." This is the cake that makes people forget it's low-carb. The one that gets requested at birthday parties, potlucks, and midnight cravings. The cake that made my sister — a self-proclaimed sugar addict — switch to keto just so she could eat it whenever she wanted. And now, after perfecting it over two years and probably 200 test runs, I'm sharing every single secret with you.
Let me walk you through every single step — by the end, you'll wonder how you ever made it any other way.
What Makes This Version Stand Out
Ultra-Moist: Most keto cakes taste like desert sand meets coconut flour. This one uses a revolutionary combination of almond flour and sour cream that creates a crumb so tender, you'll swear it's cheating. The secret lies in the fat-to-flour ratio that took me months to perfect.
Deep Chocolate Flavor: Instead of relying on weak cocoa powder alone, we layer in three types of chocolate elements — Dutch-processed cocoa, sugar-free dark chocolate chips that melt into pockets of gooey richness, and a shot of espresso that amplifies everything without tasting like coffee.
One-Bowl Wonder: Forget separating eggs or melting chocolate in a double boiler. Everything comes together in a single bowl with a hand mixer, meaning fewer dishes and less chance for things to go sideways. Even my most kitchen-phobic friend nailed this on her first try.
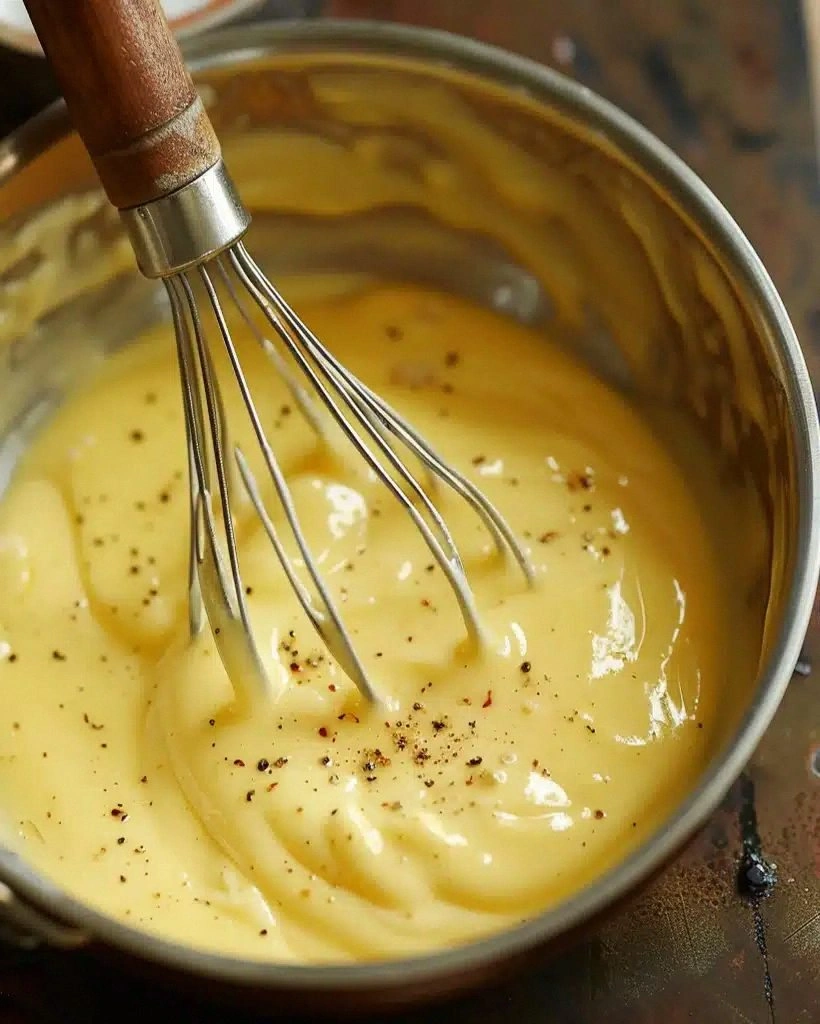
Restaurant-Quality Frosting: The accompanying chocolate buttercream uses a technique I learned from a French pastry chef — whipping in mascarpone for stability and a touch of cream cheese for tang. It pipes like a dream and doesn't weep or separate like most keto frostings.
Make-Ahead Magic: This cake actually tastes better on day two, when the flavors have had time to meld and the texture sets up perfectly. Make it Sunday, frost it Monday, serve it Tuesday, and you'll have people asking for your secret.
Scale-Proof: Whether you want a single 8-inch layer, a three-tier showstopper, or cupcakes for a crowd, this recipe scales perfectly without any math headaches. I've made everything from a 6-inch anniversary cake to a sheet pan version for 50 people.
Keto Police Approved: At just 4g net carbs per generous slice (including the frosting!), this fits comfortably into even the strictest keto macros. My nutritionist friend ran the numbers three times because she couldn't believe something this decadent could be so low-carb.
Alright, let's break down exactly what goes into this masterpiece...
Inside the Ingredient List
The Flavor Base
Almond flour forms the backbone of this cake, but not just any almond flour will do. You need ultra-fine blanched almond flour, not the coarse stuff from the bulk bins. The fine texture creates a crumb that rivals regular cake flour, while the natural oils in almonds keep everything moist. Skip the cheap brands here — they often include the skins, which give your cake a speckled appearance and slightly bitter edge that no amount of sweetener can hide.
Dutch-processed cocoa powder is non-negotiable. The Dutch processing removes the bitterness found in natural cocoa, resulting in a deeper, more complex chocolate flavor that tastes expensive. Natural cocoa powder will make your cake taste like a cheap chocolate muffin. If you're wondering whether it's worth the extra three dollars, trust me — it's the difference between "pretty good for keto" and "are you sure this is keto?"
Erythritol plus monk fruit creates the perfect sweetening blend. Erythritol provides bulk and crystalline structure similar to sugar, while monk fruit punches up the sweetness without the cooling aftertaste. Together, they mimic sugar's behavior in baking — something that took me months to figure out when every other recipe tasted like diet soda.
The Texture Crew
Sour cream is the unsung hero here. It adds tang, tenderizes the crumb, and provides moisture that won't evaporate during baking. Full-fat Greek yogurt works in a pinch, but sour cream's higher fat content creates a more luxurious texture. Don't even think about using the low-fat version — we're not making diet food here, we're making cake that happens to be keto.
Room temperature eggs incorporate more air when beaten, creating lift without chemical leaveners that can taste metallic. Take them out of the fridge at least an hour before baking, or place them in a bowl of warm (not hot) water for 10 minutes. Cold eggs will seize up your batter and create a dense, heavy cake that even the best frosting can't save.
Butter provides both flavor and structure, but it needs to be at the perfect temperature — soft enough to leave an indentation when pressed, but not so warm that it's greasy. Too cold and you'll have lumps; too warm and your cake will be greasy. The sweet spot is usually 65-68°F, which takes about 30-45 minutes on the counter.
The Unexpected Star
Xanthan gum might seem odd in a cake recipe, but it's the glue that holds everything together. Without gluten to provide structure, keto cakes often crumble apart. Just 1/4 teaspoon creates enough binding power to give you clean slices that don't fall apart when you serve them. Skip it and you'll have chocolate-flavored sand that barely holds together long enough to get from pan to plate.
Apple cider vinegar reacts with the baking soda to create lift, but more importantly, it balances the sweetness and enhances the chocolate flavor. You won't taste it in the final cake — it's like adding salt to chocolate chip cookies. It just makes everything taste more like itself. White vinegar works too, but apple cider adds a subtle complexity that white vinegar lacks.
The Final Flourish
Sugar-free chocolate chips melt into pockets of gooey richness that make every bite feel indulgent. Look for ones sweetened with stevia or erythritol, not maltitol (which spikes blood sugar almost as much as regular sugar). Chop them roughly so you get a mix of big melty chunks and smaller bits distributed throughout. This creates those Instagram-worthy chocolate pulls when you slice the cake.
Vanilla extract might seem basic, but it rounds out all the flavors and makes the chocolate taste more chocolatey. Use real vanilla, not the artificial stuff — in a recipe with so few ingredients, every one matters. The alcohol in the extract burns off during baking, leaving behind complex flavor compounds that taste like you spent way more time on this cake than you actually did.
Everything's prepped? Good. Let's get into the real action...
The Method — Step by Step
Preheat your oven to 325°F, not the usual 350°F. This lower temperature is crucial for keto cakes — it allows the center to cook through without drying out the edges. Grease an 8-inch round pan with butter, then line the bottom with parchment paper. This extra step prevents the dreaded "cake stuck in pan" disaster that has reduced many bakers to tears. Trust me, cutting a circle of parchment takes 30 seconds; chiseling cake out of a pan takes 30 minutes.
In a large bowl, beat the softened butter and erythritol mixture for exactly 3 minutes on medium speed. Set a timer — this isn't the moment for guesswork. You're looking for the mixture to become pale and fluffy, almost like whipped cream. This step incorporates air that provides lift in the absence of traditional sugar. The mixture should look like pale yellow clouds and feel lighter when you lift the beaters. Don't rush this — it's the foundation of your cake's texture.
Add eggs one at a time, beating for 30 seconds between each addition. This isn't just being fussy — it ensures each egg is fully incorporated before adding the next, creating an emulsion that won't break. The batter should look smooth and satiny, not curdled. If it does look separated, your butter was probably too cold. Don't panic — just keep beating for another minute or two until it comes together. Patience pays off here.
Whisk together all dry ingredients in a separate bowl first. This distributes the xanthan gum, baking soda, and salt evenly so you don't get a concentrated bite of either. Sift the cocoa powder if it's lumpy — those little cocoa rocks won't break down during mixing and will create bitter pockets. The mixture should look like dark chocolate powder, uniform in color. This 30-second step prevents the "why does this bite taste like soap?" problem that ruins too many keto cakes.
Add half the dry ingredients to the butter mixture, mixing on low just until combined. Add the sour cream and vanilla, mixing until smooth. Then add the remaining dry ingredients, mixing just until no streaks remain. The batter should be thick but pourable, like Greek yogurt. If it's too thick, add 1 tablespoon of almond milk. If it's too thin, add 1 tablespoon of almond flour. The consistency matters more than exact measurements here.
Fold in the chocolate chips with a spatula, not the mixer. Overmixing here can cause them to break down and streak your batter with chocolate. Use a gentle folding motion, bringing the batter from the bottom up and over the chips. You want them distributed but not pulverized. This is also when you can add nuts if you're using them — just 1/2 cup of chopped pecans or walnuts adds amazing texture contrast.
Pour the batter into your prepared pan and smooth the top with an offset spatula. The batter should fill the pan about 2/3 full — it will rise but not dramatically. Tap the pan on the counter 3-4 times to release any large air bubbles. These bubbles create holes in your finished cake, and nobody wants to explain why their cake looks like Swiss cheese. Don't skip this step, even if it feels silly.
Bake for 28-32 minutes, but start checking at 25. The cake is done when the edges start pulling away from the sides of the pan, and a toothpick inserted in the center comes out with just a few moist crumbs. It should smell like brownies and chocolate heaven. Don't wait for the toothpick to come out completely clean — that's overbaked. The center should spring back lightly when pressed. This is the moment of truth, and you've got this.
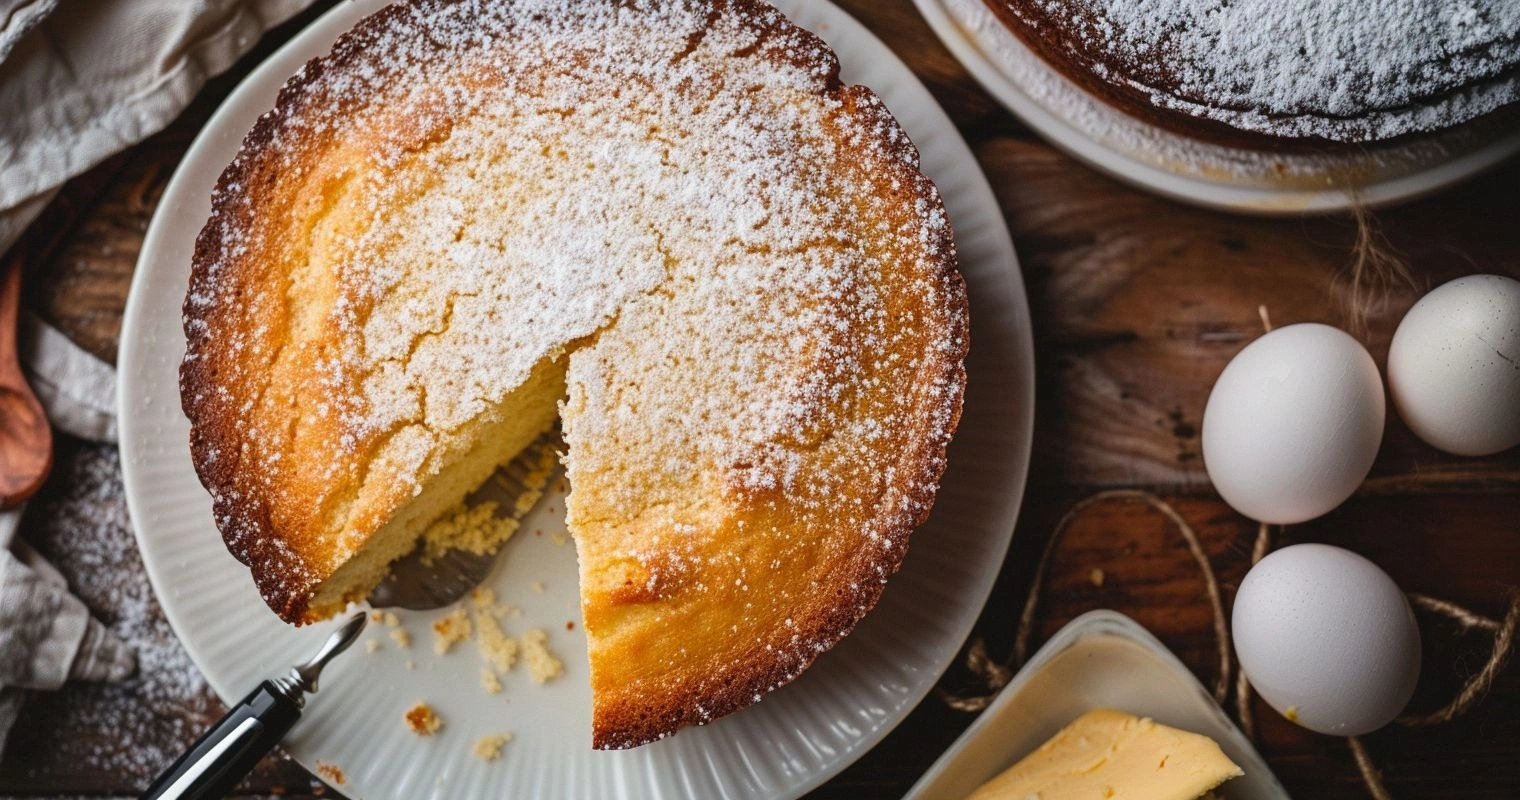
Cool in the pan for 10 minutes — no more, no less. Too short and it will break apart when you flip it. Too long and it will steam itself soggy. Run a knife around the edge to loosen, then invert onto a wire rack to cool completely. The cake should release cleanly, leaving you with a perfect 8-inch round that looks like it came from a bakery. Resist the urge to frost it while warm — patience here means the difference between frosting that slides off and frosting that stays put.
That's it — you did it. But hold on, I've got a few more tricks that'll take this to another level...
Insider Tricks for Flawless Results
The Temperature Rule Nobody Follows
Your ingredients should all be around 68°F — not cold from the fridge, not warm from sitting near the oven. This creates the perfect environment for emulsification, where fat and liquid combine into a smooth, stable mixture. When everything's the same temperature, you get a batter that bakes evenly instead of separating into greasy and dry spots. I keep a instant-read thermometer in my drawer and check everything before I start. It sounds obsessive until you taste the difference it makes.
Why Your Nose Knows Best
Don't rely on the timer alone — your nose is the best cake tester you have. When the cake is perfectly baked, your kitchen will smell like the chocolate aisle of a gourmet grocery store. If you still smell raw batter, it's not done. If you smell something toasty or slightly burnt, you've gone too far. This might be the oldest baker's trick in the book, but it's saved more cakes than any toothpick ever has.
The 5-Minute Rest That Changes Everything
After cooling completely, wrap the unfrosted cake in plastic wrap and let it sit overnight at room temperature. This rest allows the moisture to redistribute evenly, creating a texture that's somehow both more tender and more structured. It's like the difference between a wine that's just been opened and one that's had time to breathe. A friend tried skipping this step once — let's just say it didn't end well, and she still texts me every time she makes this cake to confirm she should wait.
The Frosting Temperature Sweet Spot
Your frosting ingredients matter, but their temperature matters more. Butter should be cool room temperature — soft enough to leave an indentation but not greasy. Cream cheese should be slightly cooler than the butter to prevent the frosting from becoming too soft. If your kitchen is warm, chill your mixing bowl for 10 minutes before starting. The frosting should be spreadable but hold peaks when you lift the beater.
The Slice That Sells It
Heat your knife in hot water before slicing, wiping it clean between cuts. This creates those perfect bakery-style slices that make people think you went to culinary school. Dip the knife in hot water, wipe with a towel, slice once, wipe again, repeat. Yes, it's more work than just hacking away, but presentation is everything when you're converting keto skeptics. Plus, clean slices mean more cake for everyone since you're not leaving half of it stuck to the knife.
Creative Twists and Variations
This recipe is a playground. Here are some of my favorite ways to switch things up:
Mocha Madness
Replace 2 tablespoons of almond flour with instant espresso powder, and fold in sugar-free chocolate-covered espresso beans instead of chips. The result tastes like your favorite coffee shop drink in cake form. Top with a coffee-flavored whipped cream instead of frosting for a lighter take. This variation has converted more coffee addicts to keto than any recipe I've shared.
Peanut Butter Cup
Swirl 1/3 cup of natural peanut butter into the batter just before baking, using a knife to create marbled patterns. Replace the chocolate chips with sugar-free peanut butter chips. The combination hits that perfect sweet-salty note that makes Reese's cups so addictive. Pro tip: Warm the peanut butter slightly so it swirls more easily without mixing completely into the batter.
Orange Chocolate Dreams
Add the zest of one orange to the batter, and use orange extract instead of vanilla. Fold in sugar-free dark chocolate chunks and top with an orange-scented cream cheese frosting. The combination tastes like those fancy chocolate oranges you get at Christmas, but better because you can eat it year-round without sharing.
Coconut Joy
Replace 1/4 cup of almond flour with unsweetened shredded coconut, and use coconut milk instead of sour cream. Fold in sugar-free chocolate chips and chopped macadamia nuts for a tropical twist that transports you straight to Hawaii. Toast the coconut first for an extra layer of flavor that makes this taste like a Mounds bar grew up and got sophisticated.
Spiced Mexican Chocolate
Add 1 teaspoon cinnamon, 1/4 teaspoon cayenne, and 1/4 teaspoon nutmeg to the dry ingredients. The warmth from the spices enhances the chocolate without making it taste like a spice cake. Use cinnamon extract instead of vanilla, and top with a cinnamon-spiked whipped cream. This version is especially popular around Cinco de Mayo, but honestly, it's perfect any time you want cake with a little kick.
Triple Chocolate Threat
Use Dutch-processed cocoa, fold in both dark and milk chocolate chips, and top with a chocolate ganache made from sugar-free chocolate and heavy cream. This is for the serious chocolate lovers who think there's no such thing as too much chocolate. The three different chocolates create layers of flavor that keep you coming back for "just one more bite" until suddenly the whole cake is gone.
Storing and Bringing It Back to Life
Fridge Storage
Store the frosted cake in an airtight container in the refrigerator for up to 5 days. The frosting acts as a seal, keeping the cake moist and preventing it from absorbing fridge odors. Let slices come to room temperature for 20 minutes before serving — cold keto cake tastes more dense and less flavorful. If you're storing unfrosted cake, wrap it tightly in plastic wrap, then foil, before refrigerating to prevent it from drying out.
Freezer Friendly
This cake freezes beautifully for up to 3 months. Cut it into individual slices, wrap each in plastic wrap, then foil, and store in a freezer bag. Thaw overnight in the refrigerator, then let come to room temperature for 30 minutes before serving. The texture actually improves after freezing — something about the ice crystals breaking down the almond flour slightly. You can also freeze the unfrosted cake whole, then frost it fresh when needed.
Best Reheating Method
While this cake is best at room temperature, if you must warm it, do so gently. Microwave individual slices for 8-10 seconds on 50% power — just enough to take the chill off without making the frosting melt. For a whole cake, place it in a 200°F oven for 10-12 minutes. Add a tiny splash of water to the container before reheating — it steams back to perfection, restoring moisture without making it soggy.