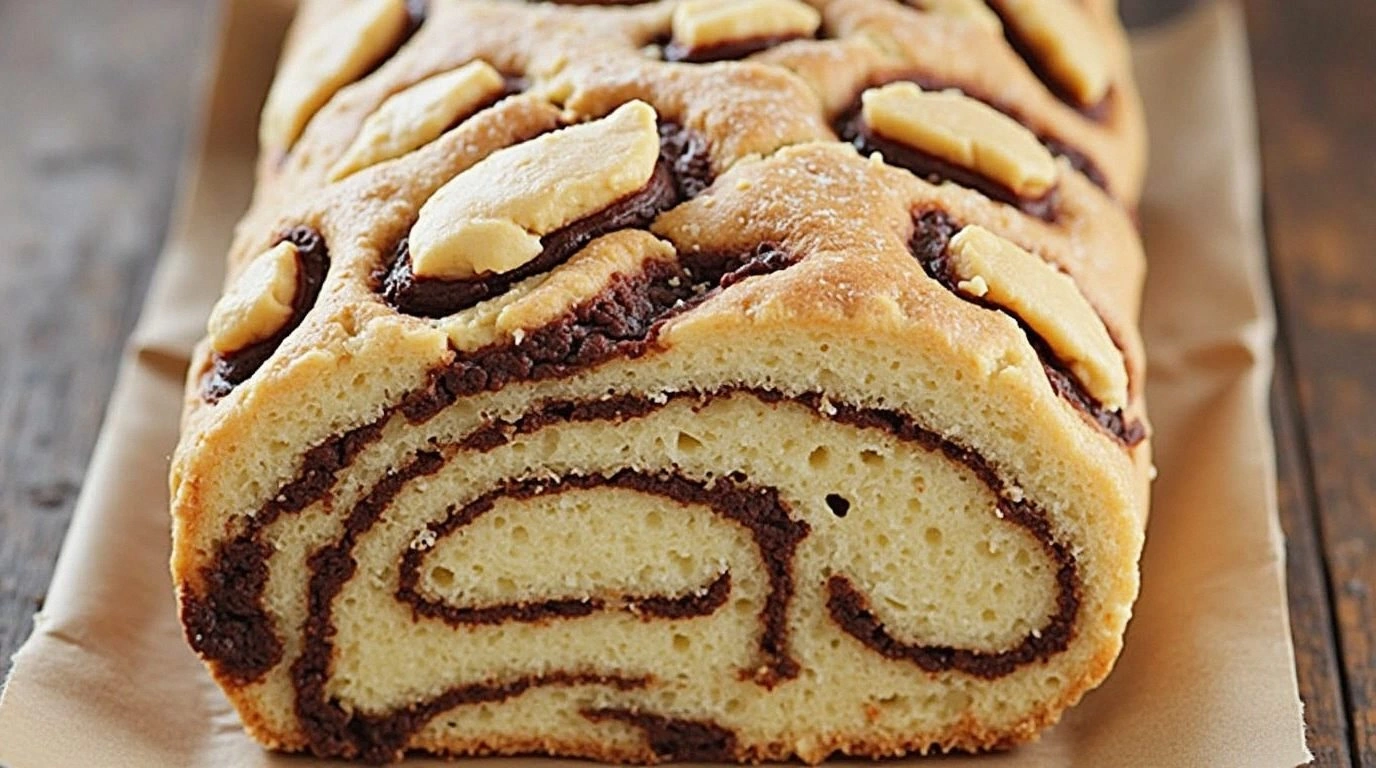
I was halfway through a midnight binge‑watch session, scrolling through Pinterest when a friend texted me, “You’ve got to try the sticky date pudding with a twist.” My kitchen was a mess of flour dust, an over‑cooked saucepan, and a single burnt sugar caramel that had turned my stove top into a blackened runway. I stared at the charred remains and thought, “If I can’t even get caramel right, how will I ever master this pudding?” That’s when the idea sparked: what if the classic date pudding got a modern, indulgent makeover? I’m talking a silky, melt‑in‑your‑mouth base, a chocolate drizzle that glistens like a midnight sky, and a whisper of citrus that brightens every bite.
Picture the kitchen: the air thick with the scent of toasted sugar, the hum of the oven preheating, and the rhythmic clink of a spoon against a stainless steel bowl. The texture of the batter feels like warm honey, the color a deep amber that promises sweetness. I can almost taste the dates’ natural caramelization, the subtle bite of cinnamon, and that final splash of chocolate that turns every spoonful into a decadent hug. It’s a sensory journey that starts with a single date and ends in a cascade of flavors that dance on your palate.
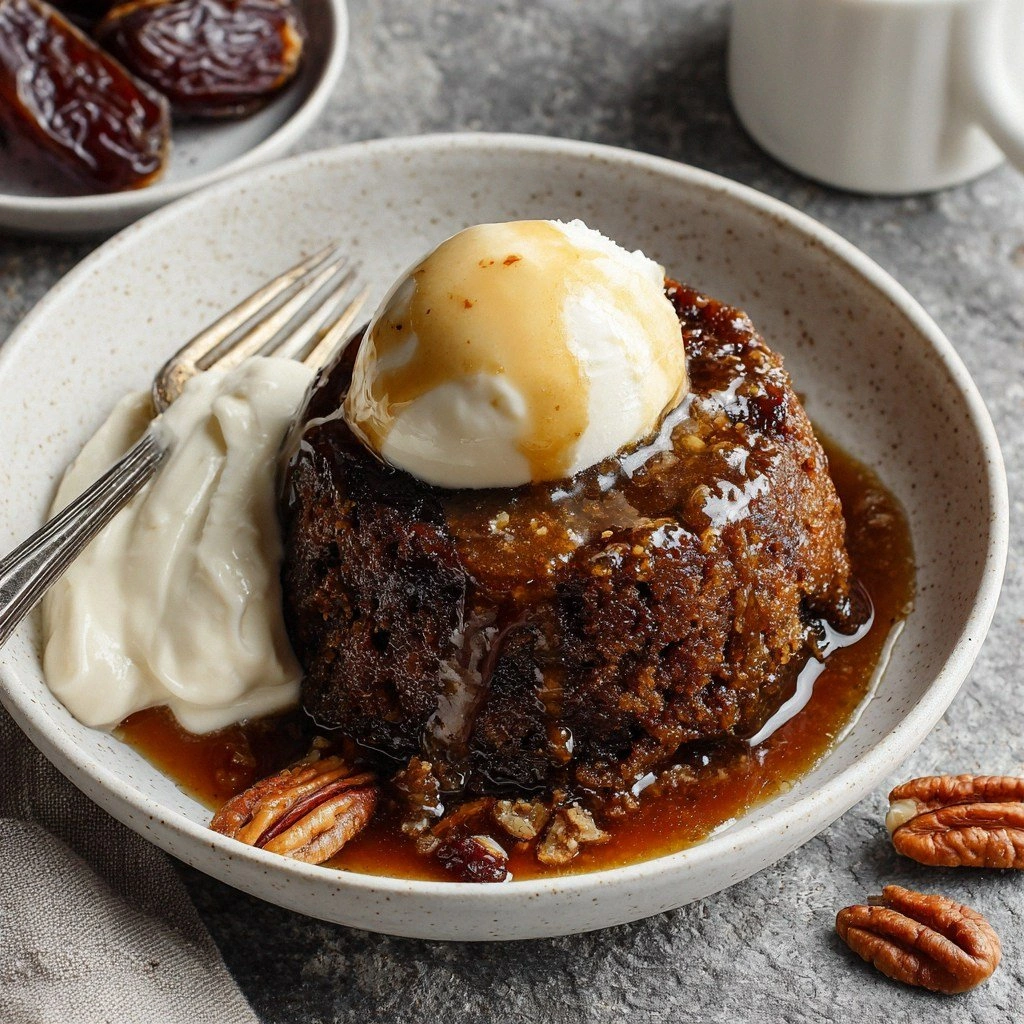
What makes this version stand out? It’s the combination of a classic comfort dish with a daring, modern twist. I dared you to taste this and not go back for seconds, and I guarantee you’ll be the one who can’t stop reaching for the next spoon. The pudding’s texture is a flawless blend of chewy dates, airy batter, and a glossy chocolate finish that coats the spoon like velvet. And if you’re a fan of subtle surprises, the hint of orange zest will lift the dish from ordinary to extraordinary.
Now, let’s walk through each step together. By the end, you’ll wonder how you ever made sticky date pudding any other way. I’m going to share the techniques that keep the pudding moist, the hacks that save time, and the little secrets that elevate this dessert from simple to unforgettable.
What Makes This Version Stand Out
- Flavor: The dates provide natural sweetness while the subtle cinnamon and orange zest add layers of complexity, turning each bite into a flavor adventure.
- Texture: The batter’s airy structure balances the chewy dates, and the chocolate drizzle adds a glossy, melt‑in‑your‑mouth finish that feels indulgent without being heavy.
- Simplicity: Only ten ingredients, all pantry staples, make this recipe approachable for beginners while still delivering gourmet results.
- Uniqueness: The addition of dark chocolate chips and a citrus twist sets this pudding apart from the usual vanilla‑only, plain‑date versions.
- Crowd‑Pleaser: Whether it’s a holiday gathering or a Sunday brunch, guests will be amazed at how rich yet light the dessert feels.
- Ingredient Quality: Using high‑quality dates and dark chocolate elevates the overall taste, making each bite a luxurious treat.
- Method: A quick, one‑pan baking process means less cleanup, more time enjoying the dessert.
- Make‑Ahead: The pudding can be prepared a day ahead; just reheat and drizzle fresh chocolate for a ready‑to‑serve dessert.
Alright, let’s break down exactly what goes into this masterpiece…
Inside the Ingredient List
The Flavor Base
Dates are the heart of this pudding. Pitted and chopped, they bring natural sweetness and a deep, caramel flavor that forms the foundation of every bite. Skipping them would strip the dish of its signature chewy texture and complex sweetness. If you’re looking for a different sweetener, try dried figs or prunes, but be prepared for a slightly different flavor profile.
All‑purpose flour gives the pudding structure. It absorbs the liquid, allowing the batter to rise just enough to keep the pudding fluffy. Using whole‑grain flour will change the texture, making it denser and less airy, which some people love but others may find too heavy.
The Texture Crew
Baking powder is the secret agent that gives the pudding its lightness. It reacts with the acidic date juice to create tiny bubbles, ensuring the dessert doesn’t feel like a dense cake. If you don’t have baking powder, a pinch of baking soda plus an acidic ingredient (like yogurt) can mimic the effect, but the result will be slightly different.
Ground cinnamon adds warmth and depth, balancing the sweetness of the dates. A small pinch of nutmeg or cardamom could be a fun twist, but cinnamon is the classic choice that most people recognize and love.
The Unexpected Star
Dark chocolate chips are the final flourish that turns a simple pudding into a luxury dessert. The chocolate’s bitterness cuts through the sweetness, creating a complex flavor that lingers on the tongue. If you prefer milk chocolate, the pudding will be sweeter, but the richness may be less pronounced.
The Final Flourish
Orange zest is the subtle twist that brightens the dish. Its citrus oils give a fresh lift that contrasts the deep, caramelized notes of the dates. If you’re allergic to citrus, a splash of lemon zest will work, but the flavor will be slightly sharper.
Everything's prepped? Good. Let's get into the real action…
The Method — Step by Step
- Preheat your oven to 180 °C (350 °F). Line a 20 cm square baking tin with parchment paper, leaving an overhang on two sides for easy lifting. This step is crucial for a clean release; a sloppy finish means you’ll spend extra time scraping.
- In a large mixing bowl, combine the chopped dates, flour, baking powder, and cinnamon. Whisk until the dry ingredients are evenly distributed; the batter should feel slightly gritty, which is normal. If you notice clumps, give it a quick pulse in the processor.
- Melt the butter in a small saucepan over low heat. Once melted, stir in the milk and vanilla extract. The mixture should be smooth, not boiling—over‑heating can cause the butter to separate.
- Pour the butter‑milk mixture into the dry ingredients and whisk vigorously until the batter is silky. At this point, the batter will look thick but pourable; if it’s too thick, add a splash more milk.
- Fold in the eggs one at a time, ensuring each is fully incorporated before adding the next. The batter will lighten slightly; this is the moment of truth—don’t rush, as the eggs provide structure.
- Add the chocolate chips and orange zest, gently folding them into the batter. The chocolate will sink to the bottom initially but will spread as it bakes, creating pockets of glossy richness.
- Pour the batter into the prepared tin, smoothing the top with a spatula. Tap the tin lightly on the counter to release air bubbles; this ensures an even rise.
- Bake for 30–35 minutes, or until a toothpick inserted into the center comes out with a few moist crumbs. The edges should pull away from the parchment, and the surface will develop a caramelized crust.
- Remove from the oven and let the pudding cool in the tin for 10 minutes. This rest period allows the flavors to settle and the chocolate to set slightly, making slicing easier.
- Using the parchment overhang, lift the pudding onto a cutting board. Slice into squares and serve immediately, or chill for a firmer texture if you prefer a more cake‑like bite.
That's it — you did it. But hold on, I've got a few more tricks that'll take this to another level…
Insider Tricks for Flawless Results
The Temperature Rule Nobody Follows
Many bakers bake at the lowest temperature they can find, thinking it’ll keep the pudding from drying out. In reality, a steady 180 °C allows the batter to rise evenly and the chocolate to melt properly. I once baked at 160 °C, and the pudding didn’t set, resulting in a gooey mess. Keep the oven calibrated; a small oven thermometer can save your dessert.
Why Your Nose Knows Best
When the pudding starts to brown, the scent will give you a cue that it’s nearly done. A faint, sweet aroma that’s not too caramelized indicates the perfect balance. Trust your nose; you’ll avoid the dreaded burnt sugar taste that can ruin an otherwise perfect pudding.
The 5-Minute Rest That Changes Everything
Letting the pudding rest in the tin for 10 minutes after baking allows the chocolate to set and the batter to firm up. During this time, the steam inside the tin condenses, creating a slightly moist interior that feels luxurious. Skipping this step makes slicing messy and the texture less cohesive.
The Pudding‑Scoop Technique
When serving, use a small cookie scoop or a chilled glass to cut even squares. This keeps the presentation tidy and ensures each bite has the same ratio of chocolate to date. A simple trick: dip the scoop in warm water to prevent sticking.
The Fresh Chocolate Drizzle
Instead of melting chocolate chips in a bowl, melt a small portion in a double boiler and drizzle it over the warm pudding. The hot chocolate will spread into a glossy glaze that hardens into a crisp shell as it cools. This technique adds a dramatic finish that impresses guests.
The No‑Heat Trick
If you’re short on oven time, you can finish the pudding on the stovetop using a low‑heat pan covered with a lid. The gentle heat will finish the baking process and keep the chocolate from melting too quickly. I’ve used this method during power outages with great success.
Creative Twists and Variations
This recipe is a playground. Here are some of my favorite ways to switch things up:
Maple‑Infused Pudding
Swap the vanilla extract for maple syrup and add a splash of maple to the batter. The result is a sweet, smoky flavor that pairs beautifully with a drizzle of extra maple on top. Perfect for a cozy autumn breakfast.
Spiced Ginger Twist
Add a teaspoon of freshly grated ginger and a pinch of cloves to the dry mix. The ginger’s warmth complements the dates, while the cloves add a subtle depth. This version is great for holiday menus.
Almond‑Butter Variant
Replace the butter with almond butter for a nutty undertone and a slight extra protein boost. The almond butter also adds a silky texture that works well with the chocolate drizzle. This tweak is ideal for those who love nut flavors.
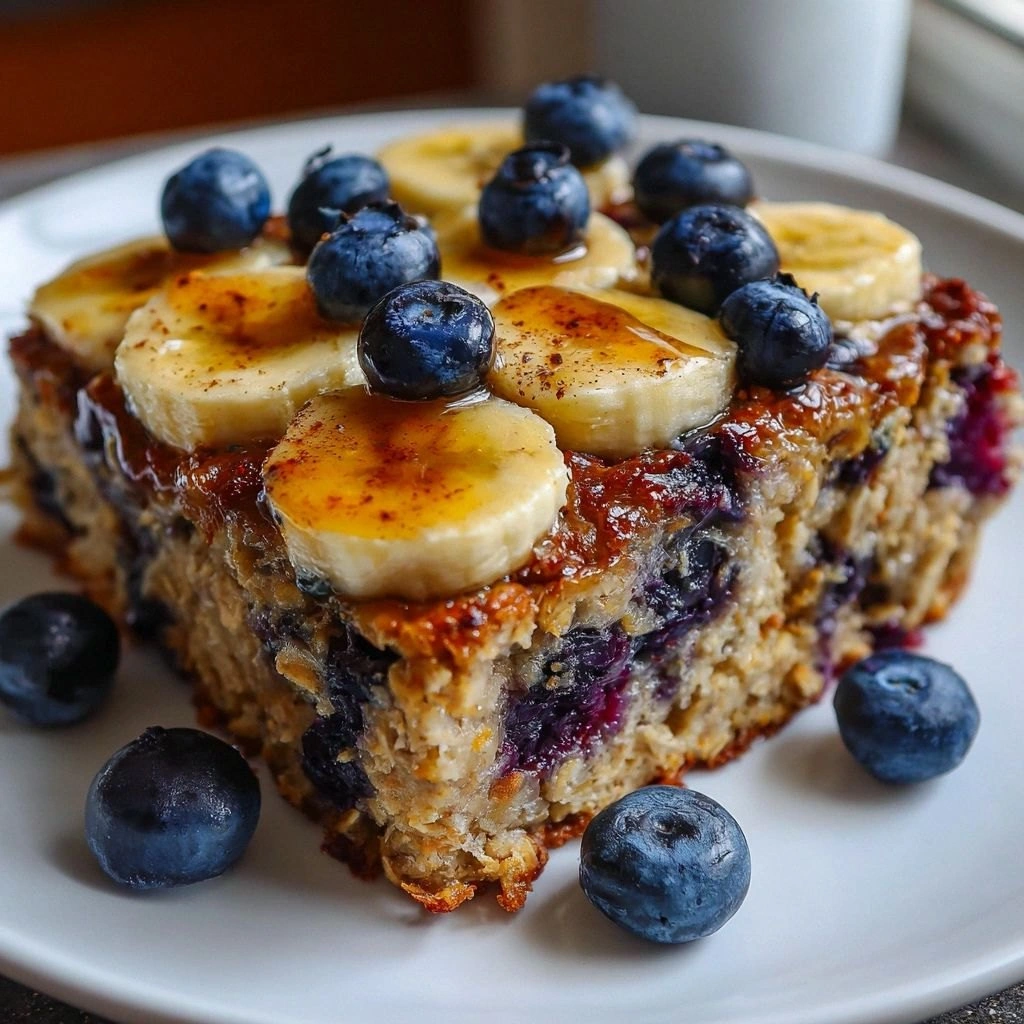
Berry‑Burst Edition
Fold in a handful of fresh blueberries before baking. The berries burst during baking, releasing a sweet, tart juice that mingles with the dates. This gives the pudding a refreshing contrast and a pop of color.
Savory Salted Caramel Finish
Drizzle a homemade salted caramel sauce over the warm pudding. The salty caramel cuts through the sweetness and adds a luxurious, buttery finish. This variation turns the dessert into a sophisticated showstopper.
Chocolate‑Covered Delight
After baking, dip half of the squares in melted dark chocolate and let them set. The chocolate coating adds crunch and a rich flavor that pairs wonderfully with the date base. This is a favorite for celebratory occasions.
Storing and Bringing It Back to Life
Fridge Storage
Cool the pudding completely, then cover it tightly with plastic wrap and store in the refrigerator for up to 3 days. The chocolate glaze will soften slightly, so reheat gently in a 120 °C oven for 5 minutes to restore the glossy finish. The dates will keep their moisture, ensuring the pudding remains juicy.
Freezer Friendly
Wrap each square individually in parchment paper, then place them in a freezer‑safe bag. Freeze for up to 2 months. When you’re ready to serve, thaw at room temperature for 30 minutes before reheating in a low‑heat oven. The chocolate will refreeze into a smooth, glossy coating.
Best Reheating Method
To reheat, preheat your oven to 120 °C and bake the squares for 8–10 minutes. Add a splash of water to the bottom of the pan to create steam, which keeps the pudding moist. Finish with a quick drizzle of melted chocolate for that fresh‑baked look.