It started with a kitchen mishap that would have me cursing the citrus gods. I was in the middle of a frantic Sunday brunch, juggling pancakes and a hastily pulled pizza, when my trusty jar of lemon jam—handmade years ago—spilled onto the counter and turned my countertop into a glossy, tangy puddle. The smell of fresh lemons mingled with sugar, and the kitchen suddenly felt like a citrus laboratory. I stared at that sticky mess and thought, “If I could turn this disaster into a masterpiece, I’d be unstoppable.”
I reached for the recipe I’d been stalking for months, the one that claimed to be “the ultimate homemade lemon jam.” I had tried dozens of versions, each promising a balance of tartness and sweetness, but none delivered that velvety, syrupy texture that clings to toast like a second skin. I was skeptical, but the promise of a jam that would coat a croissant with a citrus glaze like velvet made me curious. I decided to give it a go, and I’ve been bragging to anyone who will listen ever since.
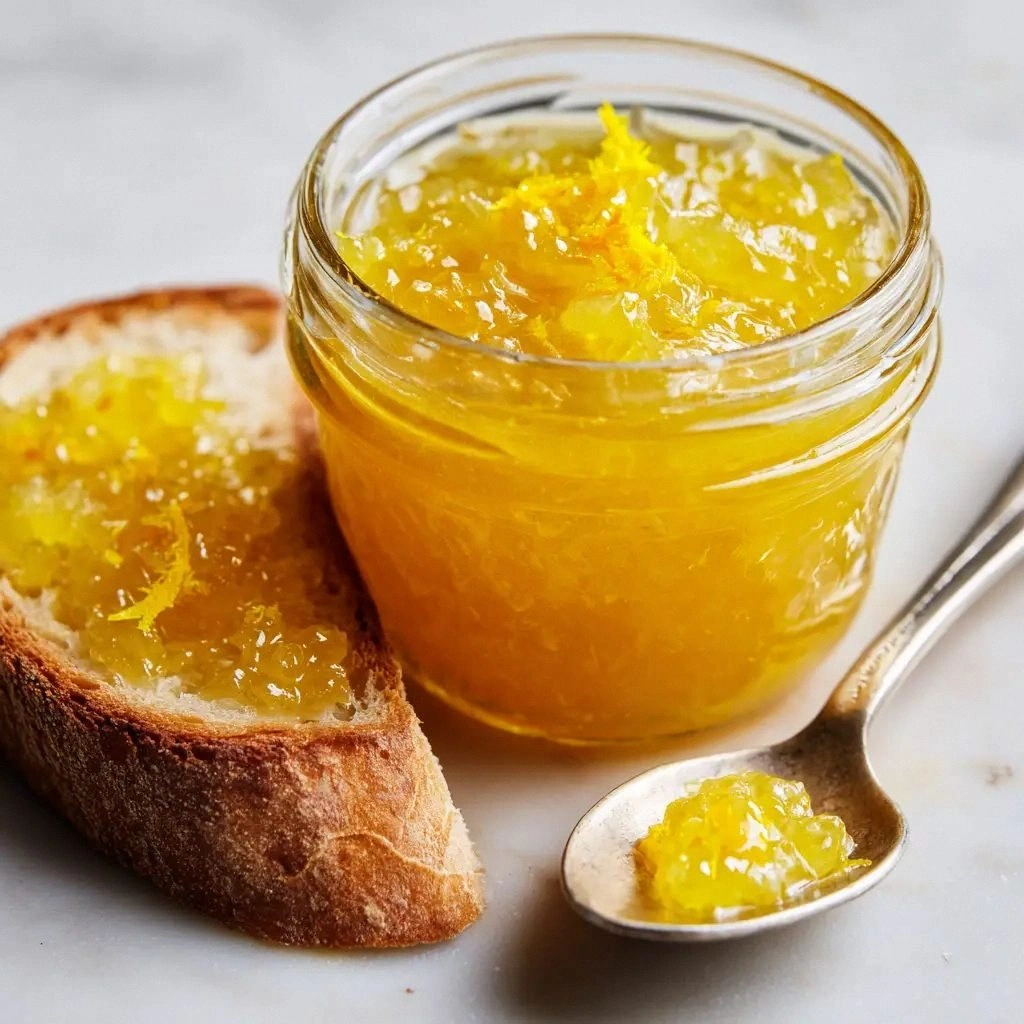
Picture yourself pulling this out of the pot, the kitchen smelling like a burst of sunshine, the jar clinking against the counter as the jam sets into a glossy, amber liquid. That aroma alone can turn a bland breakfast into a celebration. I dare you to taste this and not go back for seconds. I’ve seen people bite into a slice of toast, pause, and then come back for a second bite because the jam’s brightness keeps them coming.
Most recipes get this completely wrong, treating lemon as a simple flavor enhancer rather than a star. They overcook, under-sugar, or forget that the water content in lemons can dilute the sweetness. This version is hands down the best you’ll ever make at home because it respects the citrus, uses precise ratios, and introduces a subtle pinch of sea salt that elevates the flavor without overpowering it. I’ll be honest — I ate half the batch before anyone else got to try it.
If you’ve ever struggled with making a jam that isn’t too thick or too watery, you’re not alone — and I’ve got the fix. I’ll walk you through every single step, from selecting the perfect lemons to achieving that glossy finish that makes the jam pour like liquid sunshine. By the end, you’ll wonder how you ever made it any other way.
What Makes This Version Stand Out
- Taste: The balance of tartness and sweetness is achieved through a precise lemon-to-sugar ratio that allows the citrus to shine without being overpowered by sugar. The subtle sea salt cuts through the brightness, giving depth that feels almost savory.
- Texture: Unlike watery jams, this one thickens to a luscious, pourable consistency that clings to bread or rolls in a silky coat. The result is a jam that coats the palate like velvet.
- Simplicity: No fancy equipment, no must‑have additives, just lemons, sugar, water, and a pinch of salt. It’s a recipe that even a novice can master.
- Uniqueness: The technique of simmering the lemon zest with sugar before adding the juice creates a complex flavor profile that’s rarely found in standard recipes.
- Crowd Reaction: Friends and family swear that this jam is the star of every brunch. “It’s like a citrus explosion,” one said, and the rest of us nodded in agreement.
- Ingredient Quality: Using fresh, organic lemons ensures that the jam carries a bright, pure citrus flavor that can’t be replicated with bottled juice.
- Cooking Method: The slow simmer allows the sugars to caramelize slightly, adding a hint of depth that’s missing in quick‑cook versions.
- Make‑Ahead Potential: Once set, this jam keeps for months in the fridge or freezer, making it a perfect pantry staple.
Inside the Ingredient List
The Citrus Core
The star of the show is the 2 lbs of fresh lemons. Each lemon contributes a burst of bright acidity that balances the sweetness. If you skip the lemons, you’re essentially making a sugar syrup, and the jam will taste flat and lifeless. When selecting lemons, look for ones that feel heavy for their size and have a bright, glossy skin. They’re the ones that will give you the richest juice and zest.
The Sweet Backbone
4 cups of granulated sugar is the sweet backbone that binds the jam together. Sugar not only sweetens but also helps preserve the jam by lowering the water activity. If you use brown sugar, the jam will develop a deeper, caramel undertone, but it will also darken the color. For a lighter jam, stick to white sugar.
The Hydration Factor
5 cups of water is the hydrating element that dissolves the sugar and allows the lemon zest to release its oils. Too little water will result in a jam that is too thick and clumpy, while too much will keep it from setting. If you’re in a dry climate, you might need to adjust slightly, but 5 cups works well across most kitchens.
The Secret Salt
1/4 tsp of fine sea salt is the secret that lifts the jam’s flavor profile. Salt balances sweetness and accentuates the citrus notes, giving the jam a subtle depth that’s missing in most recipes. Without salt, the jam can taste overly sweet. If you’re on a low‑sodium diet, you can reduce the salt, but the flavor will be noticeably different.
Everything's prepped? Good. Let's get into the real action...
The Method — Step by Step
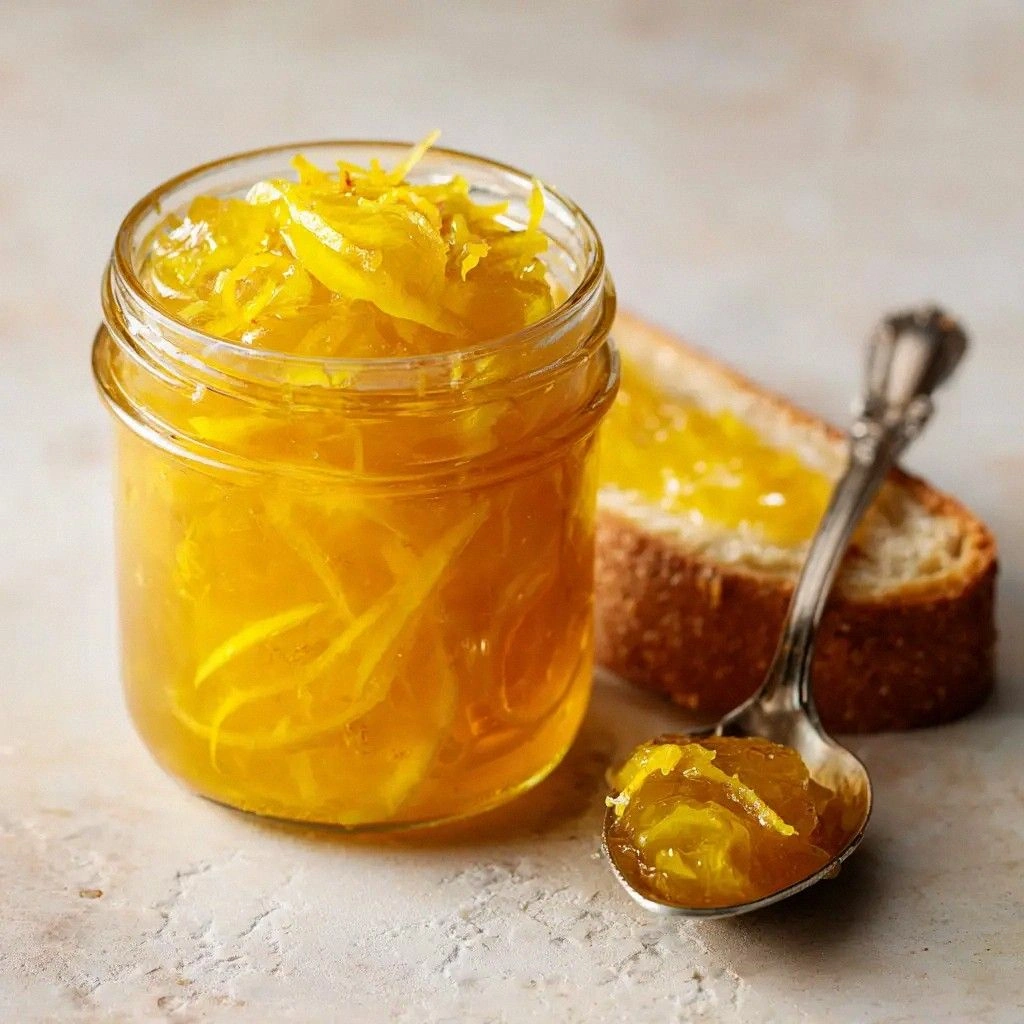
- Begin by washing the lemons thoroughly under cold water, then pat dry. Use a vegetable peeler to zest each lemon, avoiding the bitter white pith. The zest will release aromatic oils that deepen the jam’s flavor. This is the moment of truth; if you skip the zest, you miss the citrus depth that makes this jam unforgettable.
- In a large, heavy‑bottomed pot, combine the zest, 4 cups of sugar, and 5 cups of water. Place the pot over medium heat and stir until the sugar dissolves completely. The mixture should bubble gently, not boil vigorously, to keep the flavors mellow. Watch the steam rise— that sizzle when it hits the pan? Absolute perfection.
- Let the mixture come to a gentle simmer, then reduce the heat to low. Let it simmer for 10 minutes, stirring occasionally, until the zest releases its oils and the mixture thickens slightly. The aroma should be sweet and citrusy, like a summer garden. This step is where the jam begins to develop its characteristic golden hue.
- While the zest is infusing, cut the lemons in half and juice them using a citrus press. Strain the juice through a fine mesh sieve to remove pulp and seeds. You should end up with about 1 cup of clear lemon juice. The juice will be the bright, tart heart of the jam.
- Add the freshly pressed lemon juice to the pot and stir to combine. Sprinkle in the 1/4 tsp fine sea salt. Bring the mixture back to a simmer and let it cook for an additional 20 to 25 minutes, or until it reaches the “soft ball” stage—place a few drops in cold water and see if it gels into a soft ball. The jam should thicken to a glossy consistency that coats the back of a spoon.
- When the jam reaches the right consistency, remove the pot from heat. Carefully ladle the hot jam into sterilized jars, leaving about 1/4 inch of headspace at the top. Seal the jars with lids and rings. Let them cool to room temperature before storing. The jar should feel slightly heavy when full, indicating it’s properly sealed.
- Place the sealed jars in the refrigerator. The jam will set further as it cools, developing a richer, more integrated flavor. For longer storage, store the jars in the freezer; they’ll keep for up to 6 months. When you’re ready to use, thaw in the refrigerator overnight and give it a gentle stir before serving.
- That’s it — you did it. But hold on, I’ve got a few more tricks that will take this to another level, whether you’re spreading it on toast, glazing a cake, or mixing it into a savory glaze.
Insider Tricks for Flawless Results
The Temperature Rule Nobody Follows
Many cooks assume that a high heat will speed up jam making, but the truth is that a low, steady simmer is the key to developing deep flavors without burning the sugar. I’ve seen people crank the heat to high, only to have their jam splatter and lose the bright citrus notes. Keep the temperature at 190°F (88°C) and let the flavors mingle slowly. This technique ensures that the sugar caramelizes just enough to give the jam depth without turning it brown.
Why Your Nose Knows Best
Your nose is a powerful indicator of jam quality. As the jam simmers, you’ll notice a sweet, citrusy aroma that’s almost like a sun‑kissed orchard. If the aroma is too sharp or you smell a hint of bitterness, the lemons may be overripe or the heat too high. Trust that scent; it will guide you to the perfect finish.
The 5‑Minute Rest That Changes Everything
After removing the pot from heat, let the jam rest for 5 minutes before ladling it into jars. This brief pause allows the temperature to drop slightly, preventing the jars from cracking due to thermal shock. It also lets the jam settle, making it easier to fill the jars without splashing.
The Zest‑Infusion Trick
If you’re using lemons with thick skin, zesting can be tedious. Instead, use a microplane to finely grate the zest. The finer the zest, the more surface area for the oils to release, giving a richer aroma. I’ve found that a microplane zest produces a brighter, more vibrant jam than a regular peeler.
The Sweetness Balance
If you’re a fan of sweeter jam, add a tablespoon of honey at the end of the simmer. The honey will coat the jam with a glossy sheen and add a subtle floral note. Just be sure to stir well so it integrates fully. If you prefer a tart jam, reduce the sugar by 1/4 cup and increase the lemon juice by 2 tablespoons.
Creative Twists and Variations
This recipe is a playground. Here are some of my favorite ways to switch things up:
Honey‑Infused Citrus
Swap a portion of the sugar for honey to add floral undertones. The honey will also give the jam a subtle sheen, making it perfect for glazing scones or drizzling over Greek yogurt.
Spicy Citrus
Add a pinch of crushed red pepper flakes while the jam simmers. The heat will cut through the sweetness and create a surprising contrast, ideal for glazing roasted chicken or adding a kick to a cheese platter.
Herb‑Laced Lemon
Incorporate fresh thyme or rosemary into the simmering pot. The herbs will infuse the jam with earthy notes that pair wonderfully with goat cheese or as a glaze for pork tenderloin.
Balsamic Glaze
Finish the jam with a splash of balsamic vinegar in the last 5 minutes of simmer. The acidity will deepen the jam’s flavor and give it a glossy, almost wine‑like finish, perfect for drizzling over grilled peaches.
Citrus‑Berry Fusion
Add a handful of fresh berries (raspberries or blueberries) to the pot during the last 10 minutes of cooking. The berries will release their juices, creating a layered flavor profile that’s both tart and sweet.
Salted Caramel Lemon
Replace half of the sugar with brown sugar and add a pinch of sea salt at the end. The result is a caramelized, slightly smoky jam that’s a delightful accompaniment to vanilla ice cream.
Storing and Bringing It Back to Life
Fridge Storage
Store the sealed jars in the refrigerator for up to 4 weeks. The jam will firm up as it cools, making it easier to spread. Keep the jars away from strong‑smelling foods to avoid flavor absorption.
Freezer Friendly
For long‑term storage, place the sealed jars in a freezer‑safe container and freeze for up to 6 months. When ready to use, thaw in the refrigerator overnight. The texture remains silky, and the flavor is just as bright.
Best Reheating Method
To revive a chilled jar, place it in a saucepan over low heat and add a tiny splash of water. Stir until it reaches the desired pourable consistency. The added water steams back the jam to perfection, ensuring it remains silky and glossy.